DIY Nail Care: How to Use a Manicure Set for Professional Results at Home
In today's fast-paced world, taking time for self-care is more important than ever. One of the simplest yet most rewarding ways to indulge in self-care is through a DIY manicure. Whether you're prepping for a special occasion or just want to keep your nails in top shape, learning how to use a manicure set tools at home can save you time and money while giving you professional-quality results.
Getting Started: What You Need
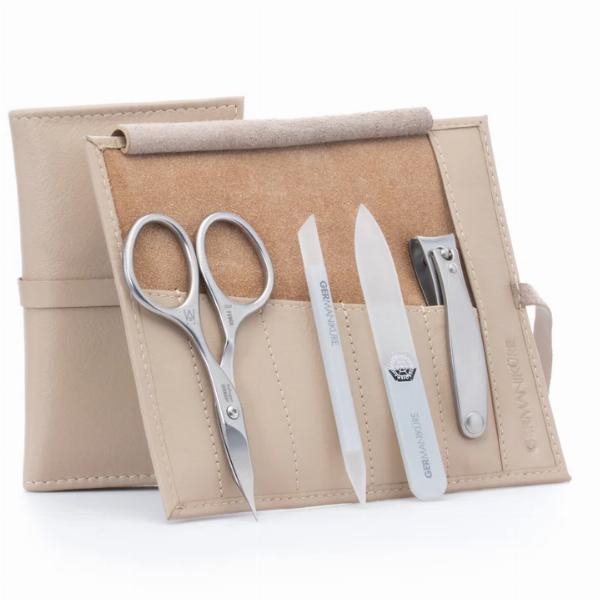
To achieve salon-quality results, you need the right tools. A comprehensive set of manicure tools typically includes:
Nail Clippers: For trimming your nails to the desired length.
Nail File: To shape and smooth your nails.
Cuticle Pusher: To push back the cuticles.
Cuticle Nippers: For trimming excess cuticle skin.
Nail Buffer: To give your nails a smooth finish.

Base Coat, Nail Polish, and Top Coat: For adding color and shine.
When it comes to nail files, choosing the best nail file is crucial. Look for a high-quality, fine-grit file that can shape your nails without causing splits or breaks. Glass or crystal nail files are often recommended for their durability and smooth finish.
Step-by-Step Guide to a Perfect DIY Manicure
1. Preparation is Key
Start by washing your hands thoroughly to remove any dirt and oils. Dry them well and set up a clean, well-lit workspace. Lay out your set of manicure tools so everything is within reach.
2. Trim and Shape Your Nails
Using nail clippers, trim your nails to your desired length. It's generally best to follow the natural shape of your nails, whether that's square, round, or somewhere in between.
Next, grab the best nail file you have. File in one direction to avoid splitting the nails. If you're using a glass or crystal file, it will provide a gentle yet effective filing process. Make sure to smooth the edges to prevent snags.
3. Soak and Soften
Fill a small bowl with warm water and add a few drops of a gentle hand soap or essential oil. Soak your nails for about five minutes. This step softens the cuticles, making them easier to manage.
4. Push Back and Trim Cuticles
Gently dry your hands and use a cuticle pusher to push back your cuticles. Be careful not to push too hard as this can damage the nail bed. If you have excess cuticle skin, use cuticle nippers to trim it. Remember to only trim the dead skin; cutting live cuticle can lead to infections.
5. Buff for a Smooth Surface
Take your nail buffer and gently buff the surface of each nail. Buffing removes ridges and creates a smooth surface for the polish to adhere to. Don’t over-buff, as this can thin out your nails and make them weak.
6. Hydrate Your Cuticles
Apply cuticle oil to each nail and gently massage it in. This step is essential for keeping your cuticles healthy and preventing hangnails.
7. Polish Perfection
Before applying polish, clean your nails with a bit of nail polish remover to get rid of any remaining oils. Apply a thin layer of base coat to protect your nails from staining and to help the polish adhere better.
Once the base coat is dry, apply your chosen nail polish in thin, even layers. It’s better to apply two to three thin coats rather than one thick one, as thin coats dry faster and chip less easily. Allow each coat to dry thoroughly before applying the next.
Finish with a top coat to seal in the color and add a beautiful shine. A good top coat can also help prevent chipping and extend the life of your manicure.

Maintaining Your Manicure
A DIY manicure doesn't end once the polish is dry. Proper aftercare can extend the life of your manicure and keep your nails looking their best.
Moisturize Regularly: Keep your hands and cuticles hydrated by applying hand cream and cuticle oil daily.
Avoid Using Your Nails as Tools: This common habit can cause chips and breaks.
Wear Gloves: When doing household chores or gardening, protect your nails with gloves.
Touch-Up: If you notice minor chips, use a matching polish to touch up the area and reapply your top coat.
Why Invest in a Quality Manicure Set?
A high-quality set of manicure tools is an investment in your nail health. Cheap tools can be rough on your nails and cuticles, leading to damage and discomfort. Look for tools made from durable materials like stainless steel, which are easy to clean and maintain.
The Best Nail File for At-Home Manicures
As mentioned earlier, the best nail file can make a significant difference in your nail care routine. Here are some tips for choosing the right one:
Material: Glass and crystal files are often considered the best because they provide a smooth finish and are long-lasting. Emery boards are good for quick fixes but can be harsh on nails.
Grit: A fine-grit file (240 and above) is ideal for natural nails. Coarser grits are better for artificial nails or heavy-duty filing.
Shape: A straight file is great for general shaping, while a curved file can be useful for getting into the corners of your nails.
Final Thoughts
Mastering the art of a DIY manicure using a set of manicure tools is a skill that pays off in more ways than one. Not only do you save money by skipping the salon, but you also gain a relaxing self-care ritual that leaves you with beautiful, healthy nails.
With the right tools and techniques, you can achieve professional results at home. Remember to invest in a quality set of manicure tools and the best nail file for your needs. Practice makes perfect, so take your time and enjoy the process. Your nails will thank you!